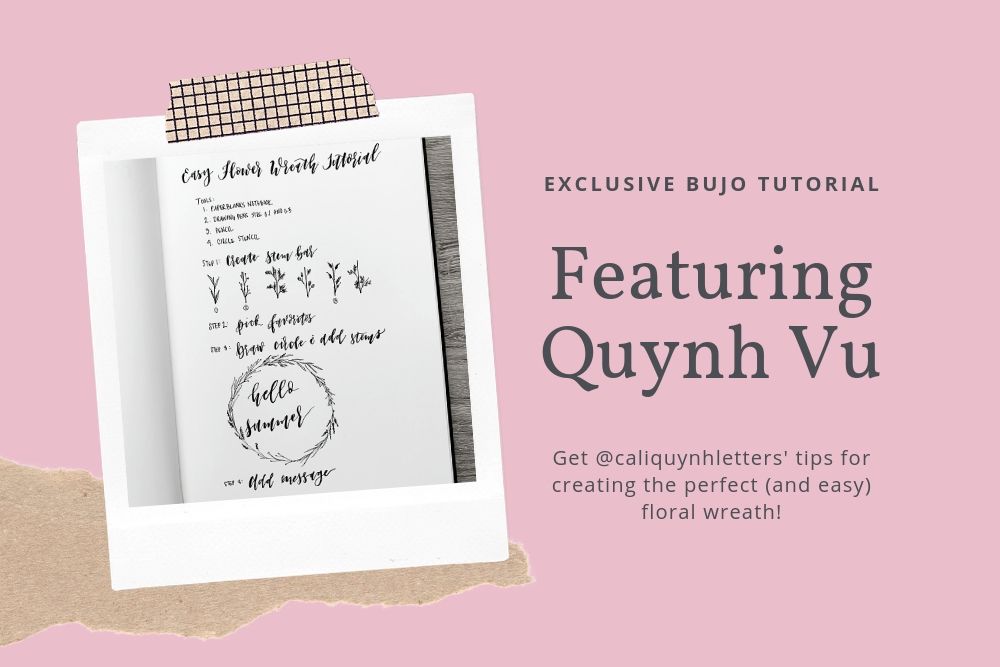
Sometimes at the Endpaper Blog we get the unique opportunity to offer a platform to creative journallers from around the world. We’ve recently partnered with Quynh Vu – a multitalented artist and bullet journaller who specializes in brush lettering and modern calligraphy. You may remember Quynh from her Instagram account @caliquynhletters, where she has recently personalized some special journals for lucky contest winners.
Today we’re excited to welcome Quynh to the Endpaper Blog to give you a behind-the-scenes look at her designs, and offer tips for creating your own! Stay tuned to the Endpaper Blog for more from Quynh, including future promotions and giveaways!
Easy Flower Wreath Tutorial
Written by: Quynh Vu (@caliquynhletters)
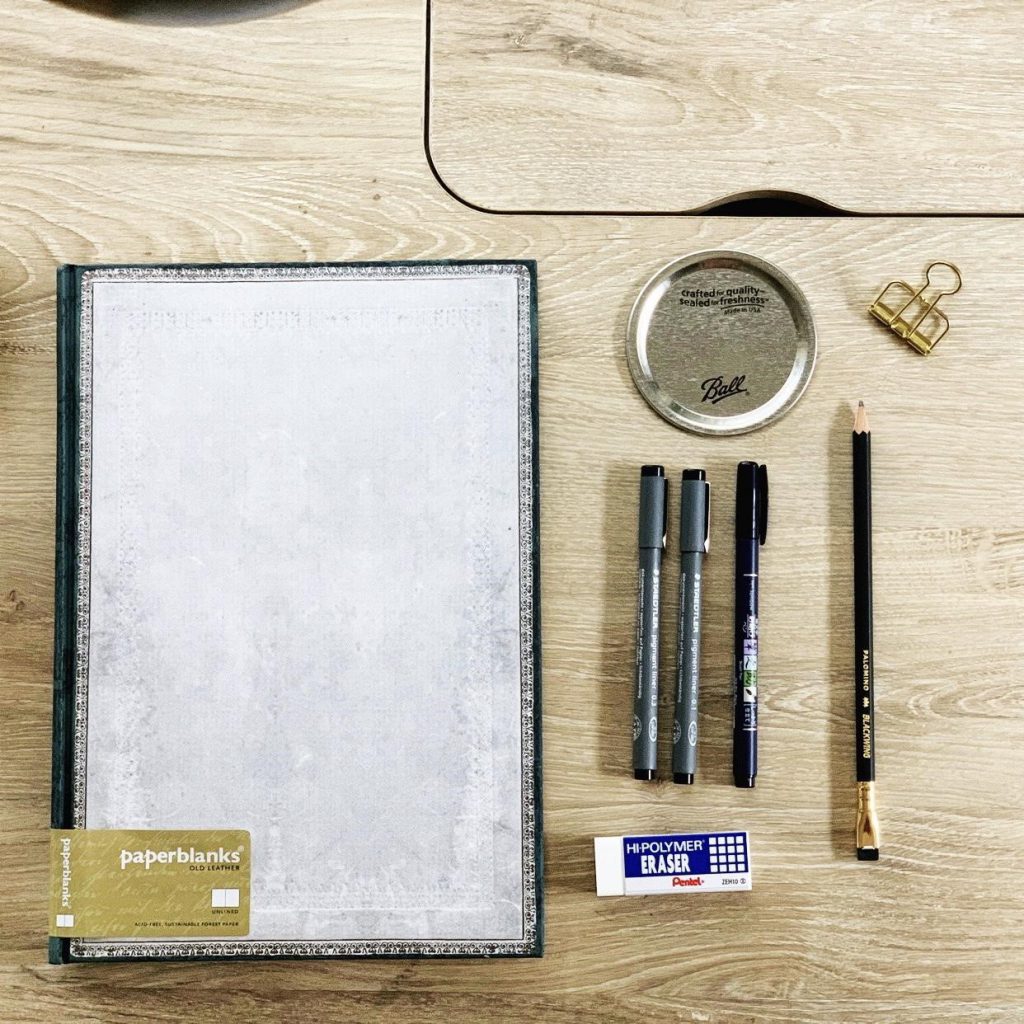
Tools:
- Paperblanks notebook
- Drawing pens with 0.1 and 0.3 mm thicknesses
- Pencil
- Circle template or mason jar lid
Drawings of floral wreaths can be added to a card and personalized with a name, used in a notebook along with an inspirational quote, or even framed with your favorite song lyrics.
Learning how to make this special embellishment can be easy when broken down into a few simple steps.
Step 1:
Create a stem bar. This is similar to when you are going to a flower shop to pick up a bouquet. Create a few of your favorite stems, which we will use when creating our floral wreath.

Brainstorm by drawing stems, making a few straight lines. Next, add your favorite leaves or branches to them. Create different varieties so that you will have simpler designs and more detailed ones to contrast each other.
Step 2:
Pick your top three favorite stems.
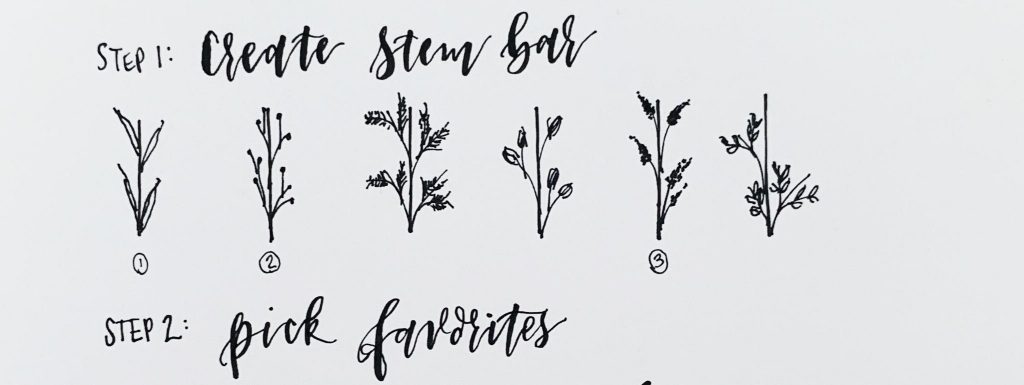
Show which ones are your favorites by numbering them 1, 2 and 3 as seen above.
Step 3:
Draw a circle and add stems.
My favorite circle tool to use is the mason jar lid on my desk. You might be able to see this jar on my desk, as it is filled with seashells that my daughter collects for me whenever we go to the beach together.
If you do not have a mason jar, any round lid or object that you can lay flat and trace around would work great too. Lightly trace the circle using a pencil, so that you can draw over this with leaves and flowers.
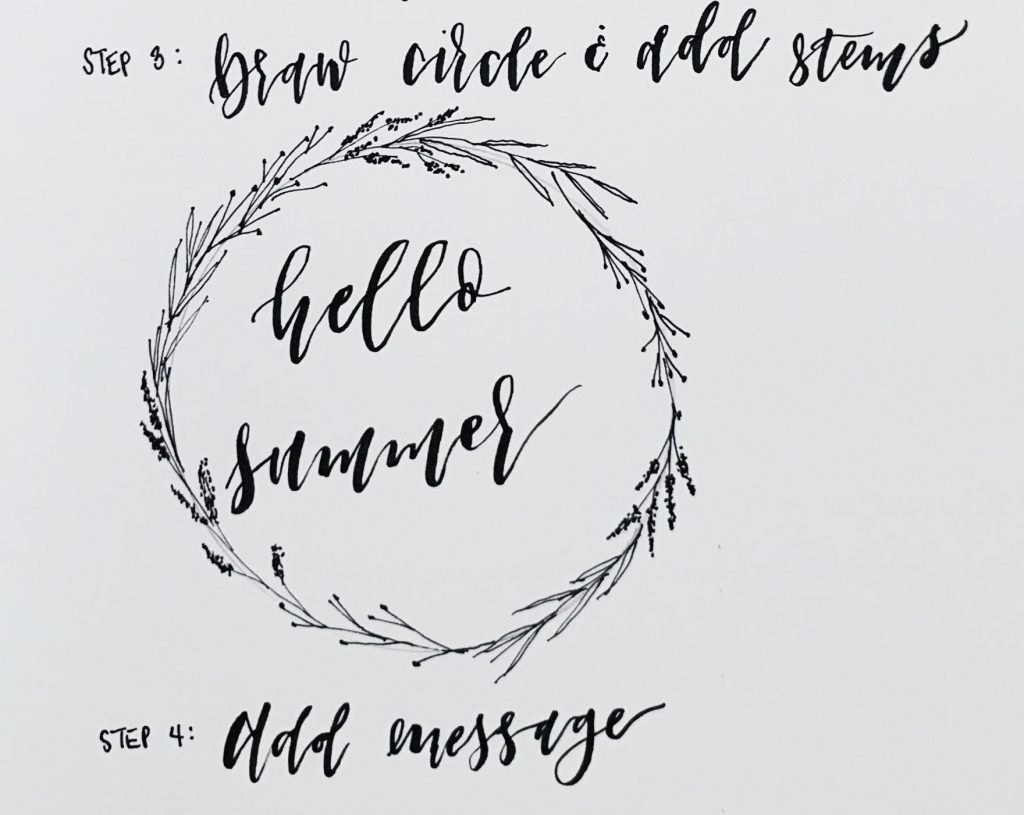
Pick your three favorite stems from above to start drawing, beginning at the top of your circle (12 o’clock). Continue to draw these three stems in the same repeating pattern until you have gone all the way around your circle.
Keeping only three stem patterns, repeated in the same order, will create a wreath that is compositionally balanced and beautiful to look at. Depending on how big your stems are, you should be able to repeat your pattern around your circle about three to four times.
Step 4:
Add a name, an inspirational quote, a special date or song lyrics to the inside of the flower wreath. A drawing like this can be added to a birthday card, a gift tag or at the front of a notebook or guestbook. It can also be framed and given as a personalized gift for special occasions.
Watch the Full Tutorial:
Ideas for floral wreath varieties:
- Select different stems from Step 2 above and repeat the whole process.
- Create an asymmetrical wreath, repeating your pattern along only one-third of the circle between 5 o’clock and 9 o’clock.
- Consider using oval, square and rectangular shapes to create wreaths of different shapes.
- Use the same color throughout or a few of your favorite colors.
A Note from Quynh:
Thank you for visiting my flower wreath tutorial.
Instagram: @caliquynhletters
YouTube: Quynh Vu
For a chance to have your flower wreath drawing in your Paperblanks notebook featured, feel free to tag @caliquynhletters and @paperblanks using #createwithcaliquynh #peopleofpaperblanks.
Send me an email at caliquynh@gmail.com so that you can be included in complimentary VIP benefits, such as brush lettering and drawing tutorials that will be sent out each month.

